Loading...

Viele amerikanische und internationale Studierende fühlen sich verloren, wenn es darum geht, die erste Seite ihrer MLA-Arbeiten zu formatieren. Ein übersehener Fehler kann Punkte kosten oder sogar die Glaubwürdigkeit bei den Lehrkräften beeinträchtigen. Fast die Hälfte aller Geisteswissenschaftsstudenten erhält Abzüge für einfache Formatierungsfehler, selbst wenn der Inhalt stark ist. Dieser Leitfaden legt jeden wichtigen Schritt dar und hilft Ihnen, die MLA-Regeln zu meistern, damit Ihre akademische Arbeit von Anfang an hervorsticht.
| Wesentliche Erkenntnis | Detaillierte Erklärung |
|---|---|
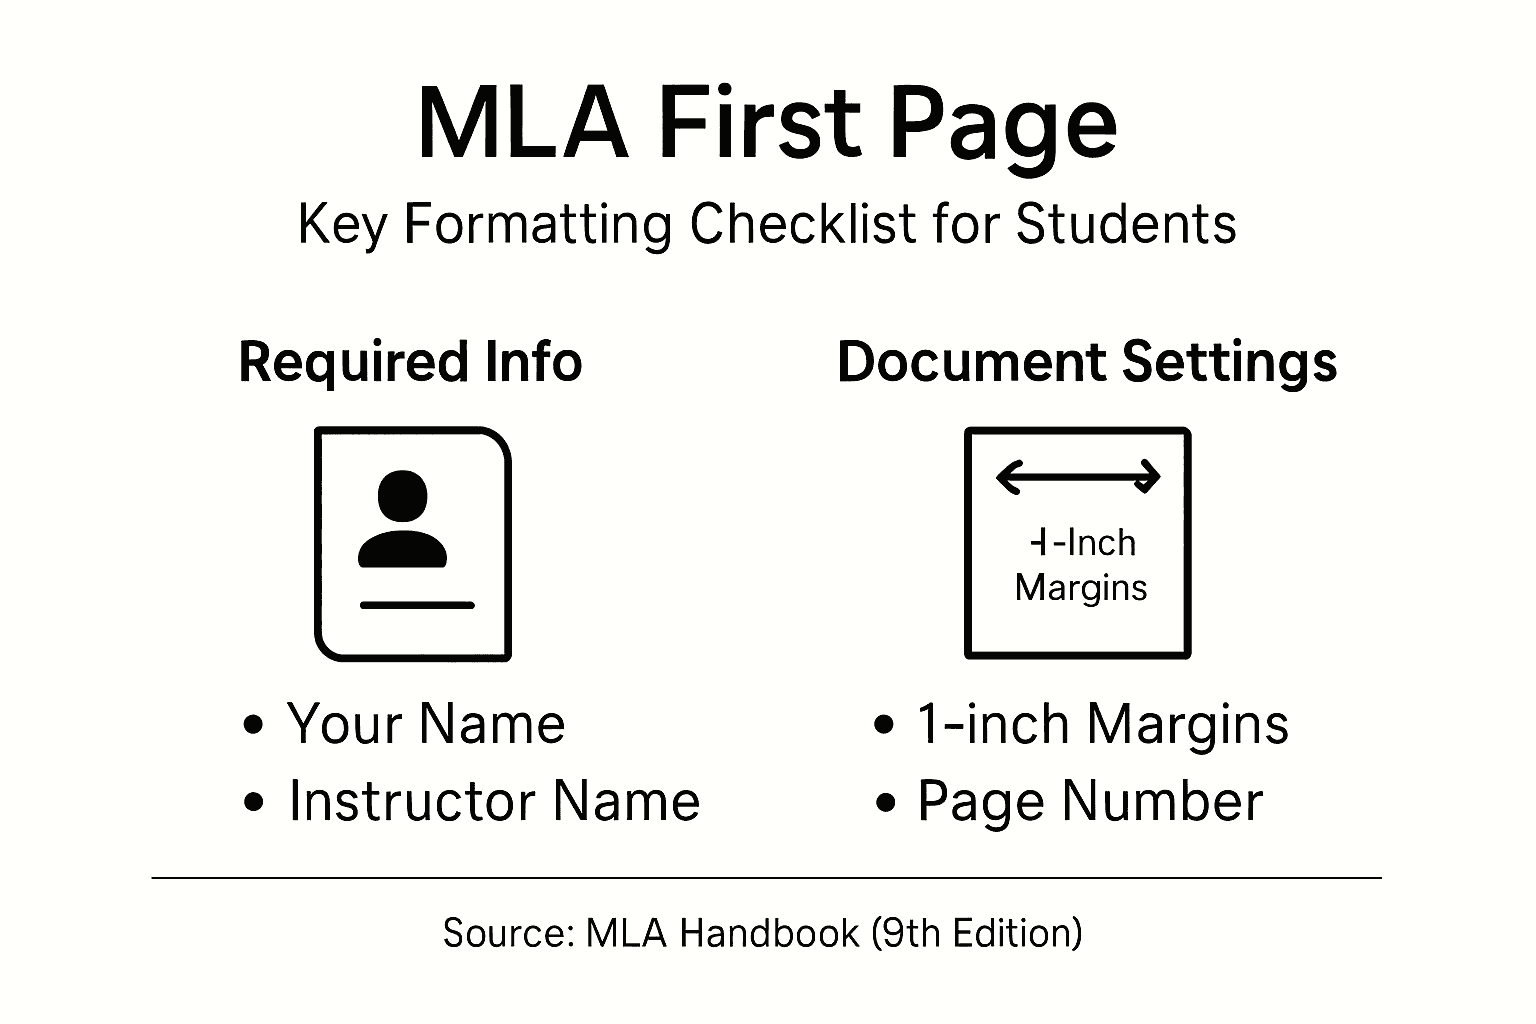
| 1. Erforderliche Informationen sammeln | Sammeln Sie Ihren vollständigen Namen, den Namen des Dozenten, Kursinformationen und das Fälligkeitsdatum für die MLA-Überschrift. |
| 2. Dokumentformatierung richtig einstellen | Stellen Sie sicher, dass Ihr Dokument einen Rand von einem Zoll, die Schriftart Times New Roman in 12-Punkt-Größe und einen doppelten Zeilenabstand hat. |
| 3. Kopfzeile korrekt formatieren | Platzieren Sie Ihren Nachnamen und die Seitenzahl in der oberen rechten Ecke, gemäß den MLA-Richtlinien für eine konsistente Präsentation. |
| 4. Elemente der ersten Seite richtig anordnen | Zentrieren Sie Ihren Titel, verwenden Sie die richtige Großschreibung und rücken Sie die erste Zeile jedes Absatzes um einen halben Zoll ein. |
| 5. Endgültige Überprüfung auf Konformität | Überprüfen Sie, ob alle Formatierungselemente den MLA-Standards entsprechen und stellen Sie sicher, dass die richtigen Zitationen und Überschriften vor der Einreichung vorhanden sind. |
Bevor Sie die erste Seite Ihrer MLA-Arbeit gestalten, müssen Sie spezifische Details sammeln, die Ihre Überschrift bilden. Diese kritischen Informationen helfen, Ihre akademische Arbeit zu identifizieren und bieten wesentlichen Kontext für Ihren Dozenten. Die MLA-Überschrift erfordert vier wichtige Informationen, die Sie sorgfältig in der oberen linken Ecke Ihrer ersten Seite auflisten.
Beginnen Sie damit, Ihren vollständigen rechtlichen Namen genau so zu sammeln, wie er in offiziellen Schulunterlagen erscheint. Suchen Sie als Nächstes den vollständigen Namen Ihres Dozenten. Dann identifizieren Sie den spezifischen Kursnamen oder die Kursnummer, bei dem Sie diese Aufgabe einreichen. Schließlich bestimmen Sie das genaue Datum, an dem die Arbeit fällig ist. Verwenden Sie beim Aufzeichnen des Datums das Format Monat Tag, Jahr (z. B. 15. Januar 2024). Jedes dieser Details wird in einer separaten Zeile eingegeben, gemäß den MLA-Formatierungsrichtlinien mit konsistenter linker Ausrichtung und doppeltem Zeilenabstand.
Hier ist eine schnelle Referenz für die Komponenten der MLA-Überschrift und deren Zweck:
| Detail | Wo zu finden | Warum erforderlich |
|---|---|---|
| Vollständiger Name des Studenten | Schulunterlagen | Identifiziert den Autor |
| Name des Dozenten | Lehrplan oder E-Mail | Leitet Feedback richtig weiter |
| Kursname/-nummer | Registrierungsinformationen | Spezifiziert den akademischen Kontext |
| Fälligkeitsdatum | Aufgabenblatt | Sichert rechtzeitige Einreichung |
Profi-Tipp: Überprüfen Sie jedes Detail doppelt mit Ihrem Kurslehrplan, um vollständige Genauigkeit zu gewährleisten und potenzielle Punktabzüge zu vermeiden.
Die Vorbereitung Ihres Dokuments mit präziser MLA-Formatierung erfordert sorgfältige Aufmerksamkeit auf spezifische Layoutanforderungen. Die visuelle Präsentation Ihres Papiers ist genauso wichtig wie der Inhalt, und die Einhaltung dieser Formatierungsrichtlinien stellt sicher, dass Ihre Arbeit akademischen Standards entspricht. Die MLA-Formatierungsrichtlinien bieten klare Anweisungen zur Erstellung eines professionell aussehenden Dokuments.
Beginnen Sie damit, die Ränder Ihres Dokuments auf genau einen Zoll auf allen Seiten einzustellen. Die meisten Textverarbeitungsprogramme ermöglichen es Ihnen, die Ränder über die Seiteneinstellungen oder Layout-Einstellungen anzupassen. Wählen Sie eine standardmäßige, professionelle Schriftart wie Times New Roman in 12-Punkt-Größe. Dies gewährleistet Lesbarkeit und bewahrt das saubere, konsistente Erscheinungsbild, das in akademischen Schriften erwartet wird. Was den Zeilenabstand betrifft, wählen Sie doppelten Zeilenabstand für das gesamte Dokument. Dies bedeutet, dass zwischen jeder Textzeile eine vollständige Leerzeile vorhanden ist, was die Lesbarkeit verbessert und Platz für potenzielle Anmerkungen des Dozenten bietet. Verwenden Sie die Absatz-Einstellungen in Ihrem Textverarbeitungsprogramm, um diesen einheitlichen Abstand zu erstellen, und vermeiden Sie es, manuell zusätzliche Zeilenumbrüche hinzuzufügen.

Profi-Tipp: Speichern Sie eine Vorlage mit diesen Standardeinstellungen, um die Formatierung zukünftiger akademischer Arbeiten zu vereinfachen und eine konsistente Präsentation über alle Ihre Aufgaben hinweg sicherzustellen.
Vergleichen Sie, wie die Anforderungen des MLA-Formats Ihr Dokument-Setup beeinflussen:
| Formatierungsaspekt | Anforderung | Auswirkung auf das Dokument |
|---|---|---|
| Ränder | 1 Zoll auf jeder Seite | Schafft ein sauberes, lesbares Layout |
| Schriftart | Times New Roman, 12pt | Bewahrt professionelles Erscheinungsbild |
| Zeilenabstand | Doppelter Zeilenabstand | Verbessert Lesbarkeit, ermöglicht Kommentare |
| Kopfzeile | Nachname + Seitenzahl | Sichert konsistente Identifikation |
Die MLA-Formatierung erfordert einen präzisen Ansatz für Seitenköpfe und Nummerierung, der sicherstellt, dass Ihr akademisches Dokument professionell aussieht und strenge akademische Standards erfüllt. Zu verstehen, wie man eine konsistente Kopfzeile erstellt, hilft Ihnen, ein poliertes Dokument zu präsentieren, das genau so aussieht, wie es Ihr Dozent erwartet. Die MLA-Kopfzeilenrichtlinien bieten klare Anweisungen zur Erstellung eines einheitlichen Seitenlayouts.
Um Ihre Kopfzeile einzurichten, beginnen Sie damit, Ihren Nachnamen in der oberen rechten Ecke jeder Seite zu platzieren. Unmittelbar nach Ihrem Nachnamen fügen Sie die Seitenzahl ein. Stellen Sie sicher, dass die Kopfzeile einen halben Zoll vom oberen Rand der Seite entfernt und bündig mit dem rechten Rand ausgerichtet ist. Die meisten Textverarbeitungsprogramme ermöglichen es Ihnen, diese Kopfzeile automatisch über die Kopf- und Fußzeileneinstellungen zu generieren. Wählen Sie eine Standard-Schriftart wie Times New Roman und verwenden Sie die gleiche 12-Punkt-Größe, die Sie für Ihren Haupttext ausgewählt haben. Fügen Sie nicht das Wort Seite oder zusätzlichen Text mit der Nummer hinzu. Die fortlaufende Nummerierung sollte auf der ersten Seite beginnen und sich durch Ihr gesamtes Dokument fortsetzen.

Profi-Tipp: Verwenden Sie die Kopfzeileneinstellungen Ihres Textverarbeitungsprogramms, um eine automatische laufende Kopfzeile zu erstellen, die das konsistente Format über alle Seiten Ihres Dokuments beibehält.
Das Formatieren der ersten Seite Ihrer akademischen Arbeit erfordert präzise Aufmerksamkeit auf Details, die über einfaches Tippen hinausgehen. Ihr Titel und die anfängliche Textanordnung kommunizieren Professionalität und die Einhaltung akademischer Standards. Richtlinien zur Formatierung der ersten Seite bieten kritische Anweisungen zur Erstellung eines polierten Dokuments.
Beginnen Sie damit, Ihren Titel in der Mitte der Seite mit standardmäßiger Großschreibung zu platzieren. Das bedeutet, dass der erste Buchstabe jedes Hauptwortes großgeschrieben wird, während Artikel und kurze Präpositionen kleingeschrieben bleiben. Verwenden Sie keine Fettschrift, Unterstreichung oder Kursivschrift für den Titel, es sei denn, er enthält einen Werktitel, der eine spezielle Formatierung erfordert. Nachdem Sie Ihren Titel getippt haben, beginnen Sie den ersten Absatz in der Zeile direkt darunter. Stellen Sie sicher, dass dieser erste Absatz linksbündig und um einen halben Zoll vom Rand eingerückt ist. Diese Einrückung gilt für jeden Absatz in Ihrem Dokument und kann mit der Tabulatortaste oder den Absatz-Einstellungen in Ihrem Textverarbeitungsprogramm erreicht werden.
Profi-Tipp: Erstellen Sie eine Vorlage mit voreingestellter Formatierung, um Zeit zu sparen und ein konsistentes Erscheinungsbild über alle Ihre akademischen Arbeiten hinweg sicherzustellen.
Perfekte MLA-Formatierung zu erreichen, erfordert eine sorgfältige Endüberprüfung, die sicherstellt, dass jedes Detail den akademischen Standards entspricht. Ihr Dokument repräsentiert Ihre akademische Glaubwürdigkeit, daher ist eine sorgfältige Überprüfung unerlässlich. MLA-Formatierungsrichtlinien bieten eine umfassende Checkliste zur Aufrechterhaltung professioneller Dokumentstandards.
Beginnen Sie Ihre Überprüfung, indem Sie kritische Formatierungselemente überprüfen. Überprüfen Sie, ob Ihre Ränder auf allen Seiten konsistent einen Zoll betragen. Bestätigen Sie, dass Ihre Schriftart Times New Roman in 12-Punkt-Größe ist und dass das gesamte Dokument doppelzeilig ist. Überprüfen Sie, ob Ihre Kopfzeile Ihren Nachnamen und die Seitenzahl in der oberen rechten Ecke enthält. Untersuchen Sie Ihre erste Seite, um sicherzustellen, dass die Überschrifteninformationen korrekt platziert sind, Ihr Titel zentriert und ohne spezielle Formatierung ist und Ihre Absätze um einen halben Zoll eingerückt sind. Achten Sie besonders auf Ihre Zitationen und die Seite Works Cited, und bestätigen Sie, dass sie den neuesten MLA-Richtlinien der 9. Ausgabe genau folgen.
Profi-Tipp: Erstellen Sie eine digitale Checkliste mit MLA-Anforderungen, um Ihr Dokument systematisch zu überprüfen und potenzielle Formatierungsfehler vor der Einreichung zu erkennen.
Die perfekte MLA-Format-Erste-Seite einzurichten, kann sich mit all den präzisen Details wie Rändern, Kopfzeilen und Einrückungen überwältigend anfühlen. Häufige Herausforderungen sind die Sicherstellung genauer MLA-Überschriften, das korrekte Platzieren von Seitenzahlen und das Formatieren des Titels nach genauen Richtlinien. Diese kleinen, aber kritischen Elemente können die Professionalität Ihres Papiers und sogar Ihre Note beeinflussen. Wenn Sie das Rätselraten eliminieren und Formatierungsfehler vermeiden möchten, wird die Nutzung intelligenter Technologie, die auf akademisches Schreiben zugeschnitten ist, Ihre Herangehensweise an diese Aufgaben verändern.

Entfesseln Sie die Kraft von Samwell.ai, einem KI-gesteuerten Schreibassistenten, der die Erstellung von Essays und Forschungsarbeiten vereinfacht und gleichzeitig die Einhaltung von MLA und anderen Zitationsformaten garantiert. Mit Funktionen wie dem Power Editor, der Ihnen hilft, Inhalte einfach zu formatieren und zu verfeinern, und Guided Essays, die Ihre Struktur auf Kurs halten, wird das Bewältigen Ihrer MLA-Format-Erste-Seite mühelos. Verschwenden Sie keine wertvolle Zeit mit dem Stress über Formatierungsregeln, wenn Sie saubere, glaubwürdige Arbeiten schneller produzieren können. Übernehmen Sie die Kontrolle über Ihren akademischen Erfolg, indem Sie Samwell.ai heute besuchen und erleben, wie professionelle KI-Unterstützung Ihren Schreibprozess transformiert.
Sie benötigen vier wichtige Informationen: Ihren vollständigen rechtlichen Namen, den Namen Ihres Dozenten, den Kursnamen oder die Kursnummer und das Fälligkeitsdatum. Beginnen Sie damit, diese Details genau aus Ihren Schulunterlagen und dem Lehrplan zu sammeln, bevor Sie sie in der oberen linken Ecke Ihrer ersten Seite platzieren.
Stellen Sie die Ränder Ihres Dokuments auf einen Zoll auf allen Seiten ein und verwenden Sie die Schriftart Times New Roman in 12-Punkt-Größe für den Text. Passen Sie diese Einstellungen in Ihrer Textverarbeitungssoftware an, bevor Sie Ihr Papier tippen, um ein konsistentes Layout in Ihrem Dokument sicherzustellen.
Platzieren Sie Ihren Nachnamen gefolgt von der Seitenzahl in der oberen rechten Ecke jeder Seite, einen halben Zoll vom oberen Rand entfernt. Verwenden Sie die Kopfzeileneinstellungen in Ihrem Textverarbeitungsprogramm, um dies automatisch für alle Seiten zu erstellen.
Beginnen Sie damit, Ihren Titel oben auf der ersten Seite zu zentrieren und verwenden Sie die standardmäßige Großschreibung. Stellen Sie sicher, dass Ihr erster Absatz unmittelbar unter dem Titel beginnt, linksbündig ist und um einen halben Zoll mit der Tabulatortaste oder den Absatz-Einstellungen eingerückt ist.
Führen Sie eine gründliche Überprüfung Ihres Dokuments auf Ränder, Schriftgröße, Zeilenabstand, Kopfzeilenformat und Absatzeinrückung durch. Verwenden Sie eine digitale Checkliste, um sicherzustellen, dass alle MLA-Anforderungen vor der Einreichung Ihres Papiers erfüllt sind.